
First of all, install the paytm app on your smartphone. You can download this app from Google Play Store or any other platforms or Click here to download & install PayTM.
If you have already installed PayTM then skip this and read below:
There are four methods to accept or receive money using PayTM. I have arranged them in the order according to their usability and easiness. Here I am giving you a short summary of all the 4 methods, you can choose any of them you prefer:
Method 1: In this method, you show the QR Code to the payer, The payer scans it, enters the amount & purpose of paying (optional). And clicks on OK/Send to complete the transaction. Jump to this method.
Method 2: This method is almost same to the first one but in this method, you already have set a fixed amount to be paid and the purpose of it, The payer only scans the code and clicks on pay to complete the transaction. Jump to this method.
Method 3: In this method, the payer shows the QR Code and/or Barcode to the receiver. The receiver scans the code, enters the amount & purpose and completes the transaction. This method must be done within 1 minute because it refreshes the code automatically in every minute. Jump to this method.
Method 4: In this method, the receiver should reveal his mobile no. which is not safe/preferred for most of us so this method is rarely used and that also in between friends and family only. However, in this method, the payer enters the mobile no., amount & purpose. Then clicks on pay to complete the transaction. Jump to this method.
Method 1
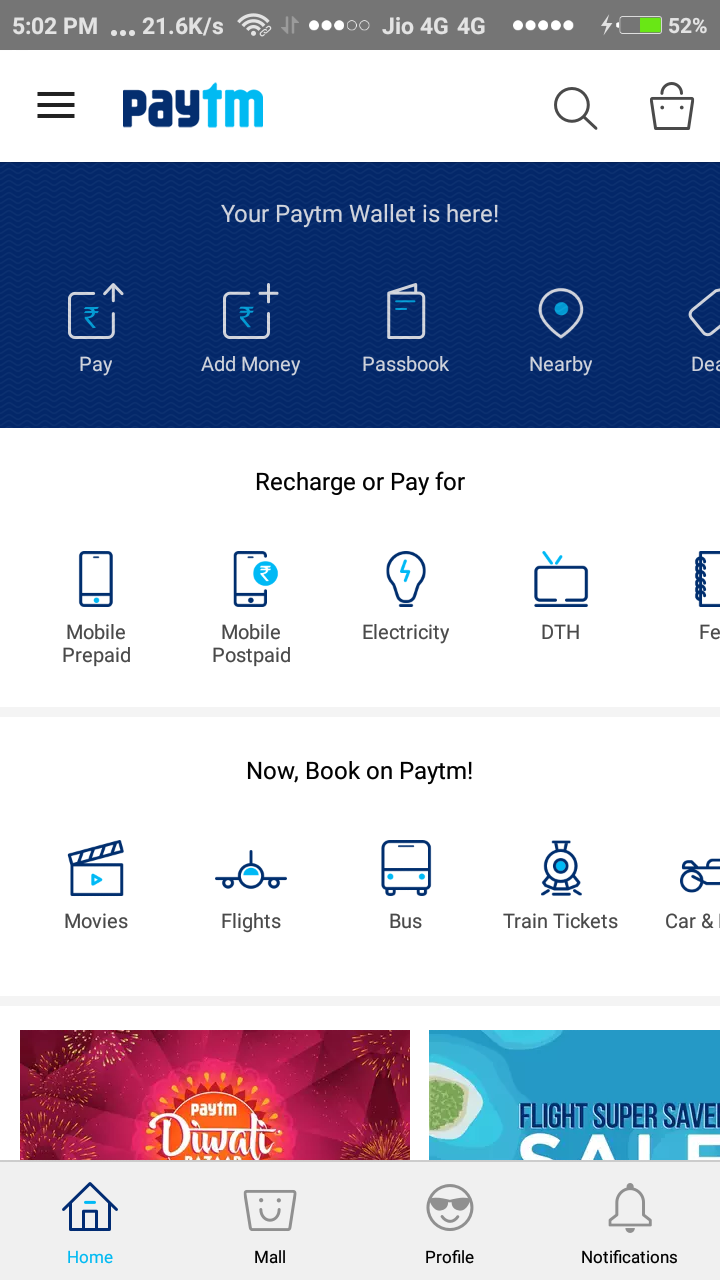
Open your PayTM app. The home screen of the app will look like the above image/screenshot.
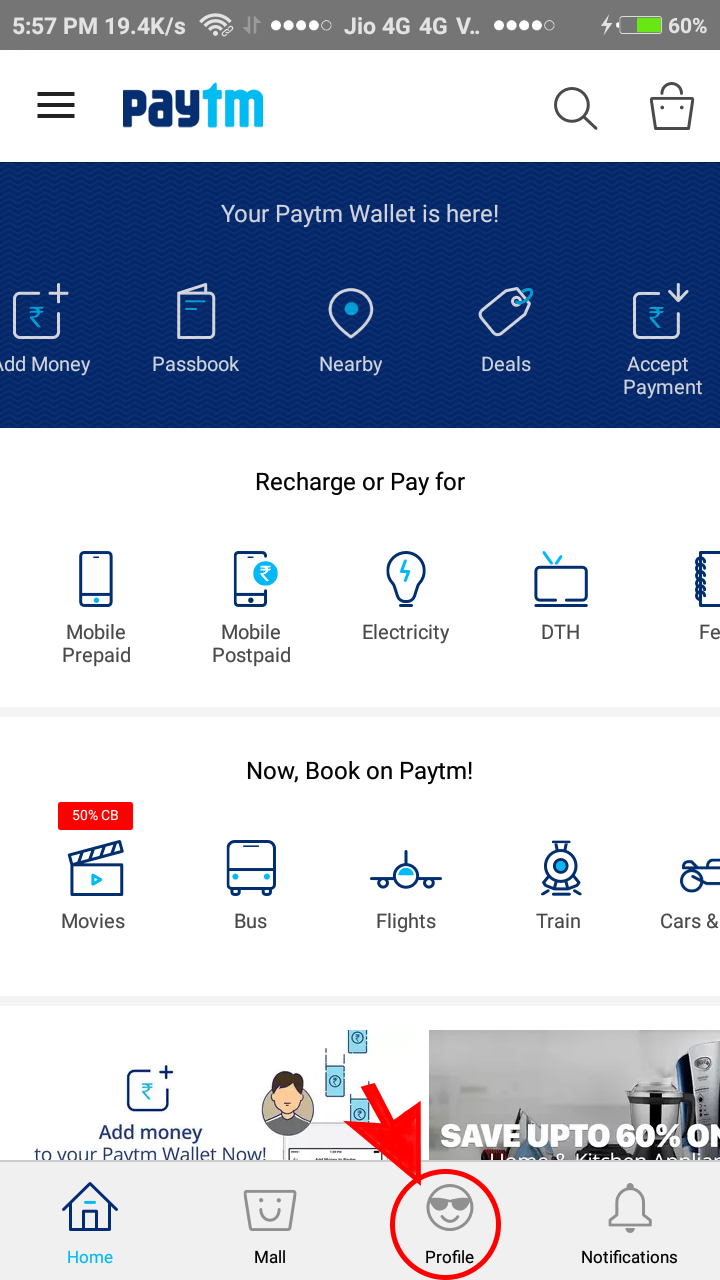
Now Click on the “Profile” button which is at the bottom of the app.
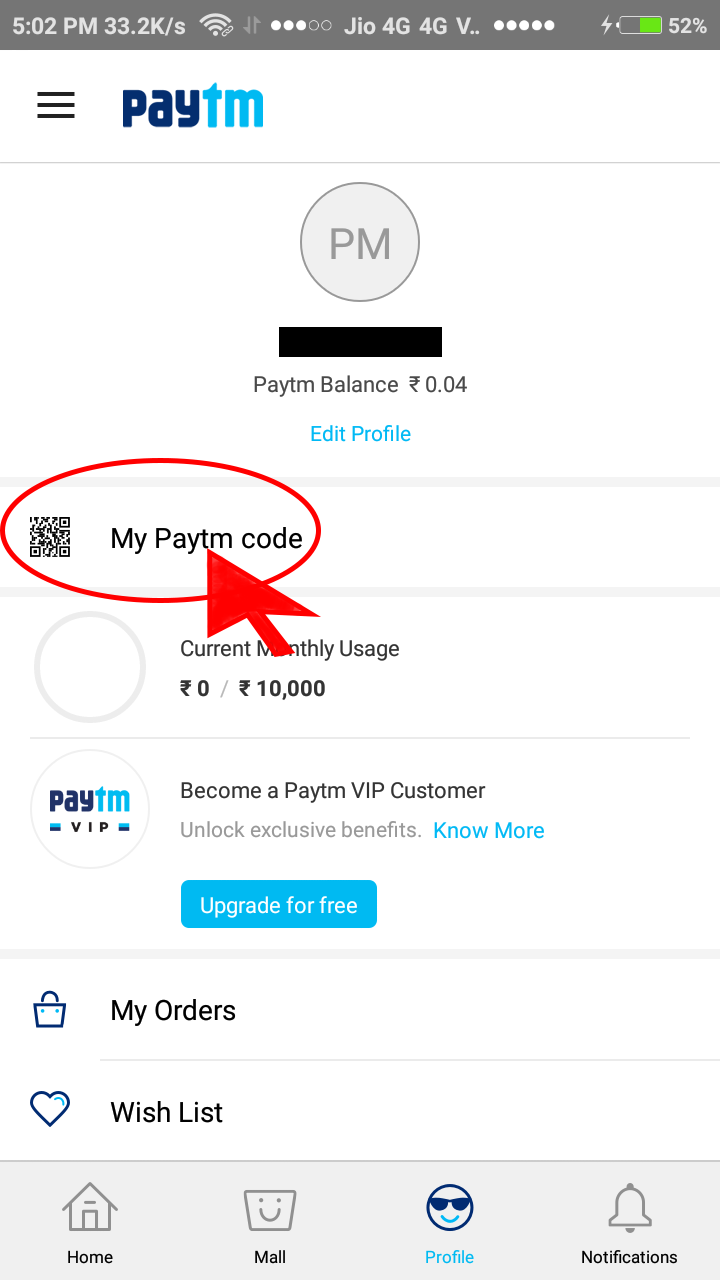
The above image shows the Profile screen. Now click on “My Paytm code” as shown above.
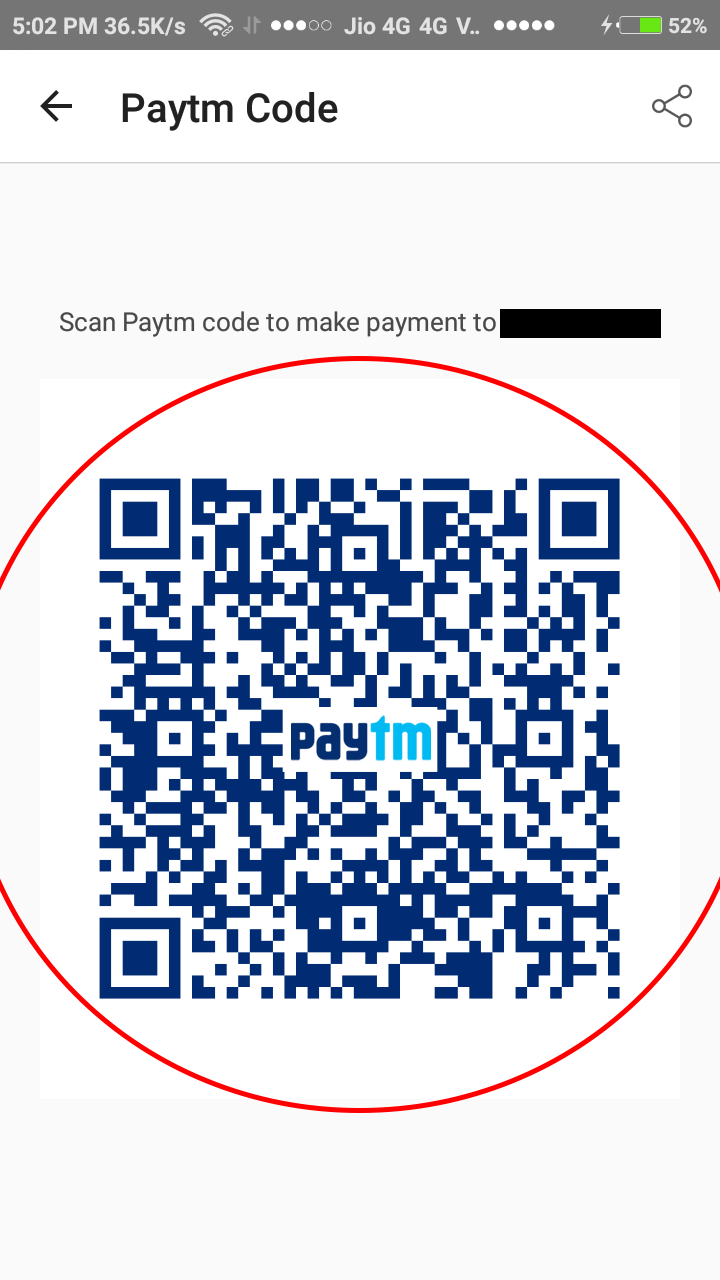
Finally, you will see a unique QR Code generated for you. You can share this with everyone by clicking on the share icon at the top right corner of the app.
To receive payment just show this QR Code to the payer, The payer will scan this QR Code using his/her PayTM and send you the money successfully.
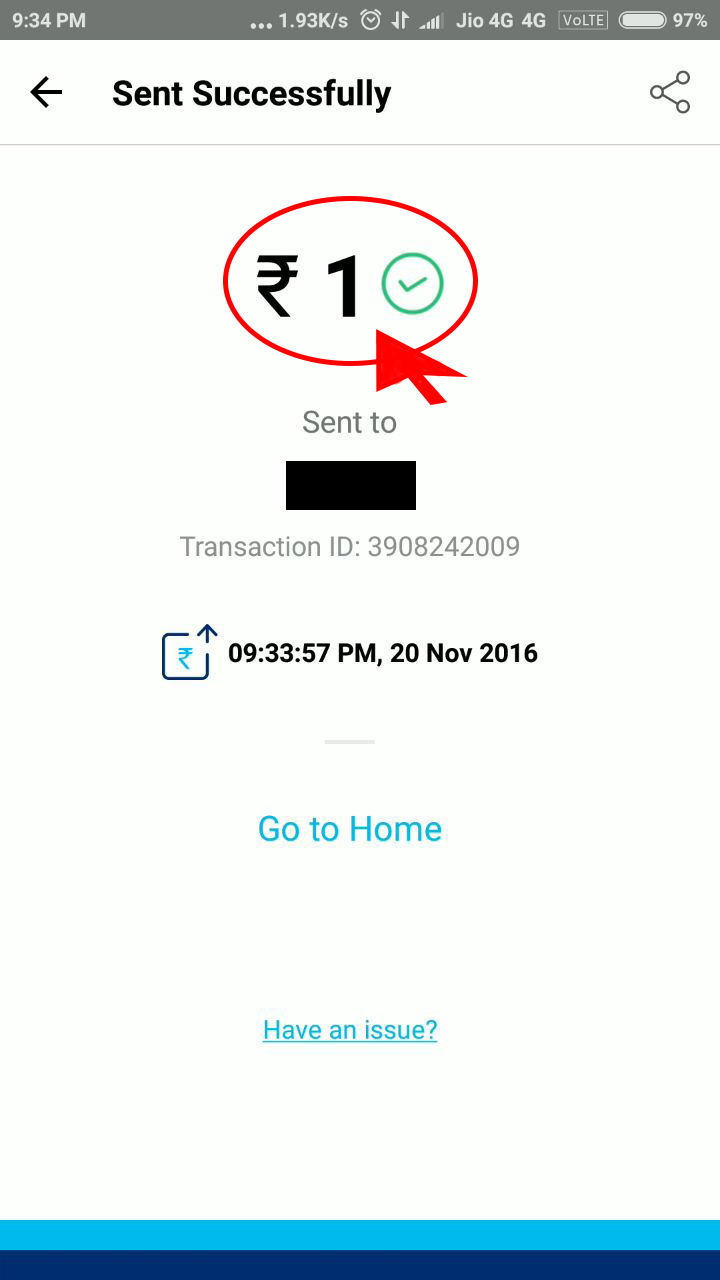
On Successful Transaction, the screen will look like the screenshot given below and the amount will be shown at the position we have marked as a red circle.
Method 2
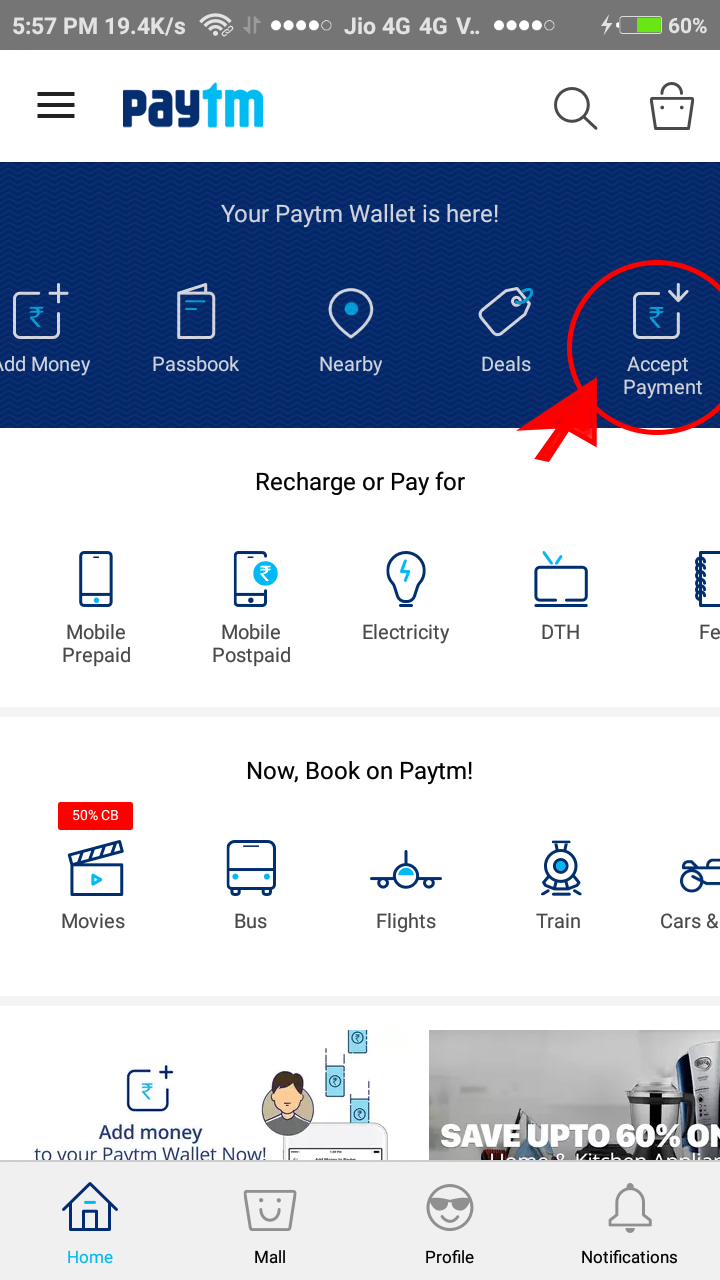
In this method first, click on “Accept Money” from the home screen.
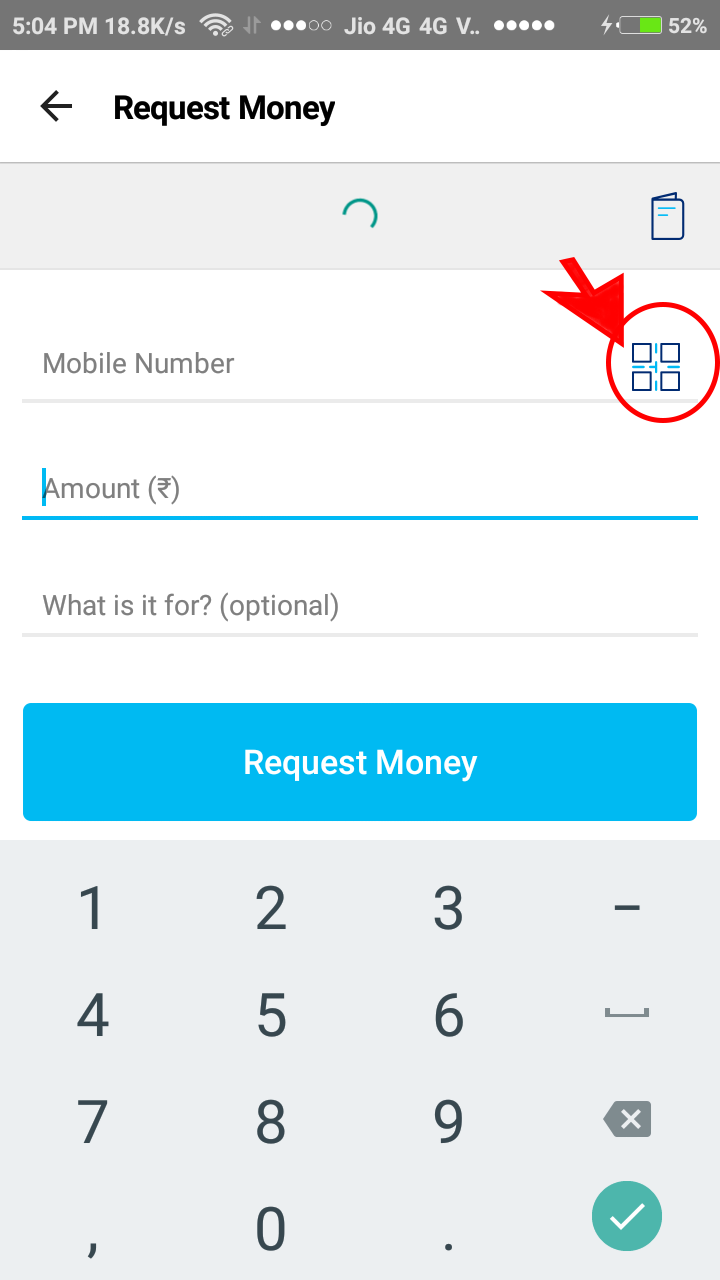
The above screen shown is used in the method no. 4. In this method, you will have to click on the “QR Code” icon as shown in the above screenshot with an arrow.
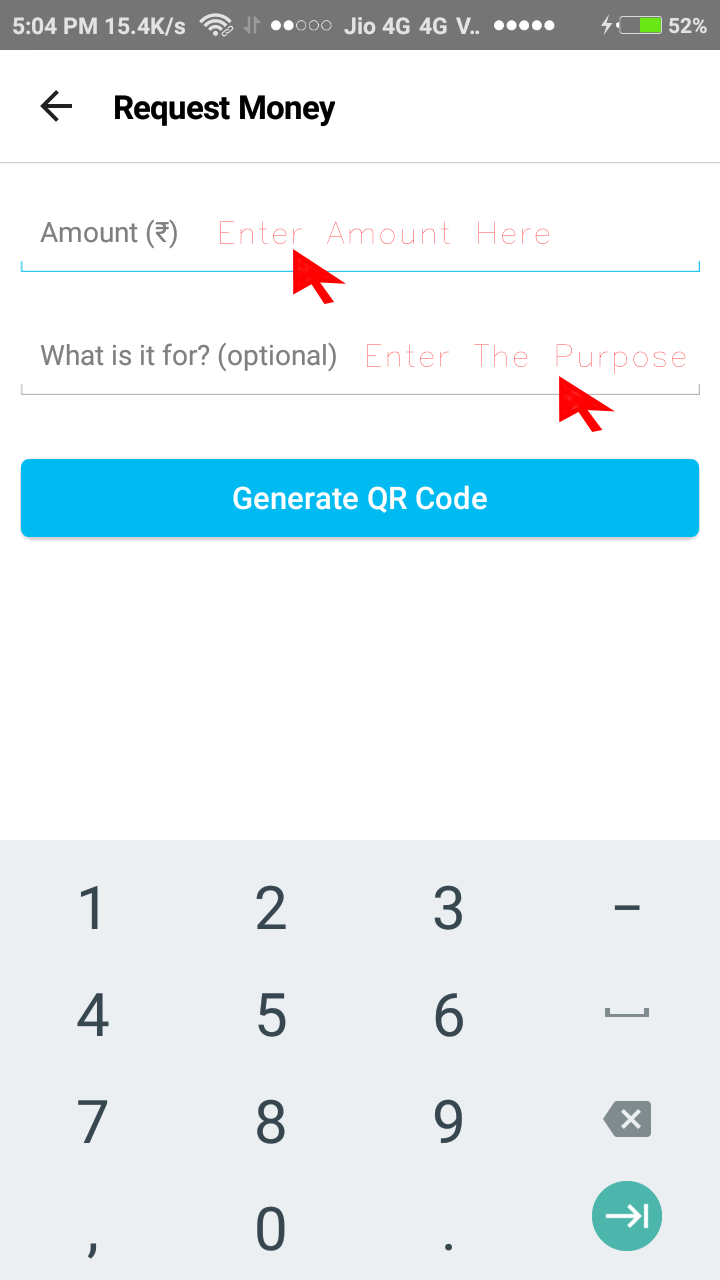
Now you will have to enter the amount and the reason for the transaction in the appropriate fields. However, the reason is optional.
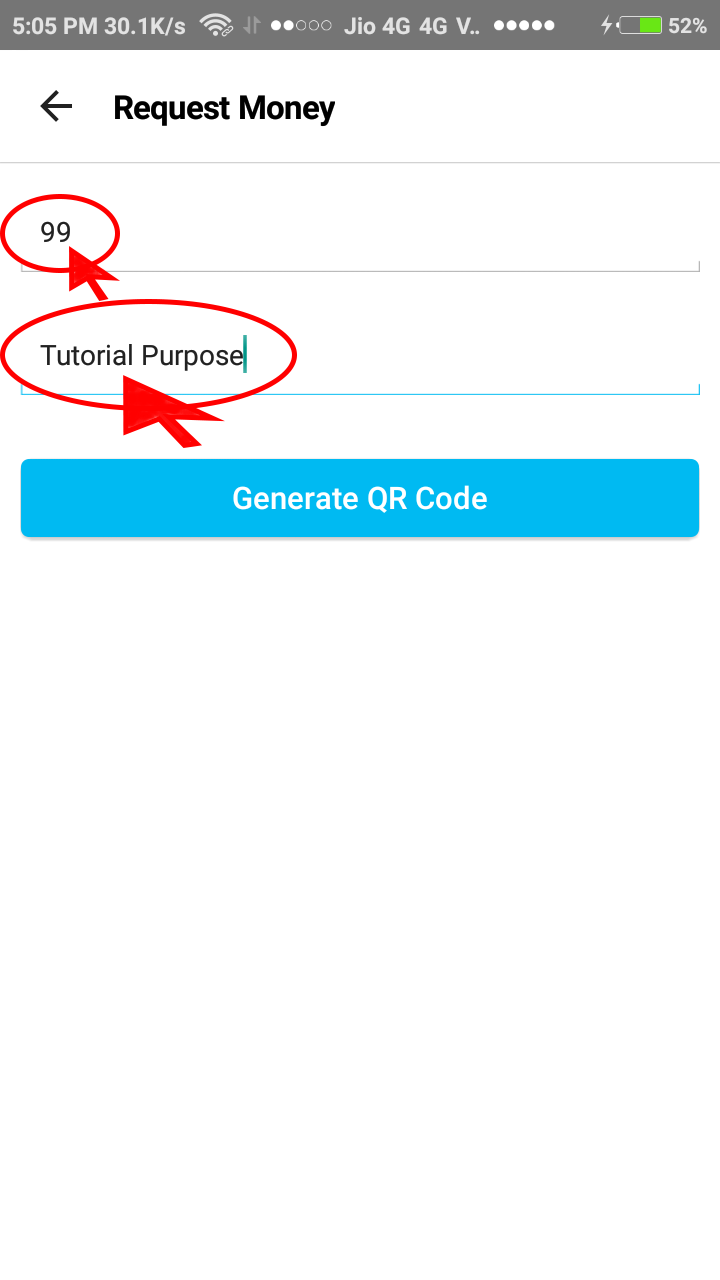
After filling or entering the amount and the purpose of the transaction the screen will look like the above screenshot. Now click on “Generate QR Code“.
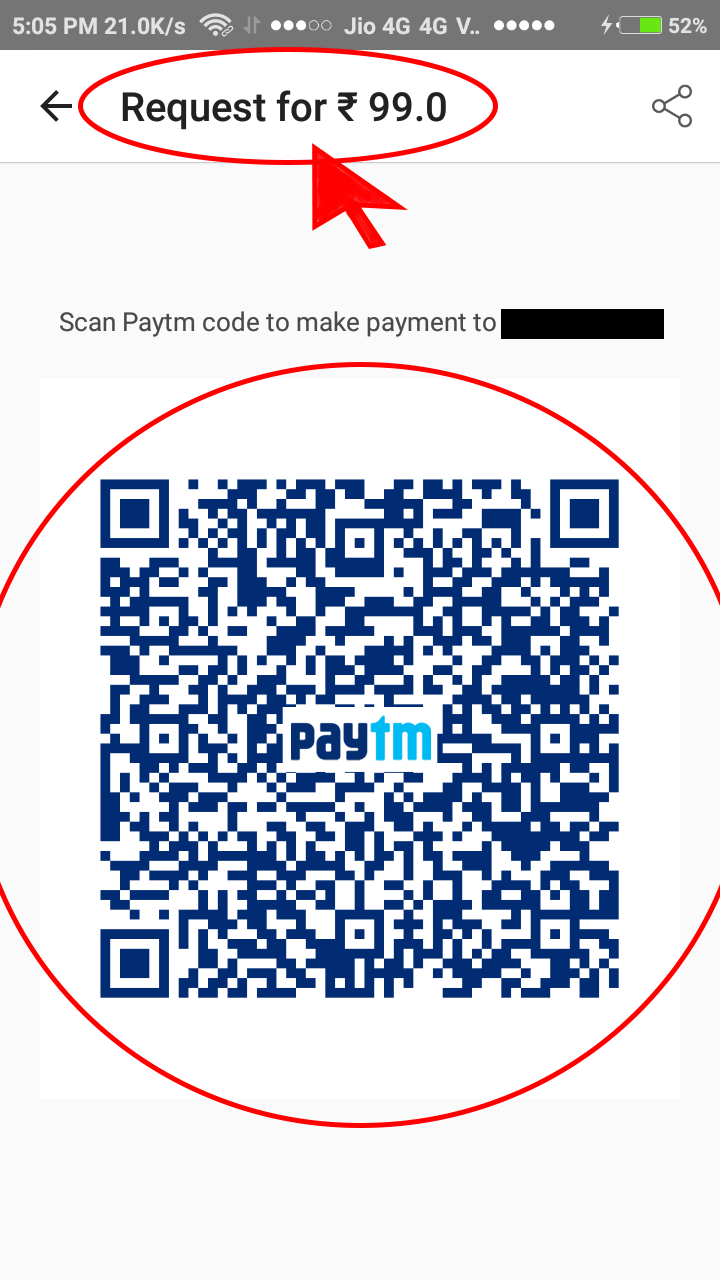
And finally, you will see a QR Code as shown above with a fixed amount. The amount is shown at the top of the screen.
The payer will scan this code and click on “Proceed to Send” to complete the transaction.
After the successful transaction, the screen will look as same as shown in the method 1.
Other Digital Wallet / Billing / Payment Apps:
“This post will be updated for method three and four as soon as possible, Currently these two methods has published to fight the currency problem. All these posts will be published in Hindi also very soon.
Thank You for your patience!”